Settings Guide
CS2 Mouse Settings Guide 2026: DPI, eDPI & Sensitivity Explained
Most CS2 players set DPI randomly and never revisit it. This guide explains exactly what DPI, eDPI, and raw input mean for your aim — and how to find the right numbers for your playstyle, whether you're using a $15 mouse or a $100 flagship.
- 7 min read
What DPI Actually Means — and Why the Number Alone Tells You Nothing
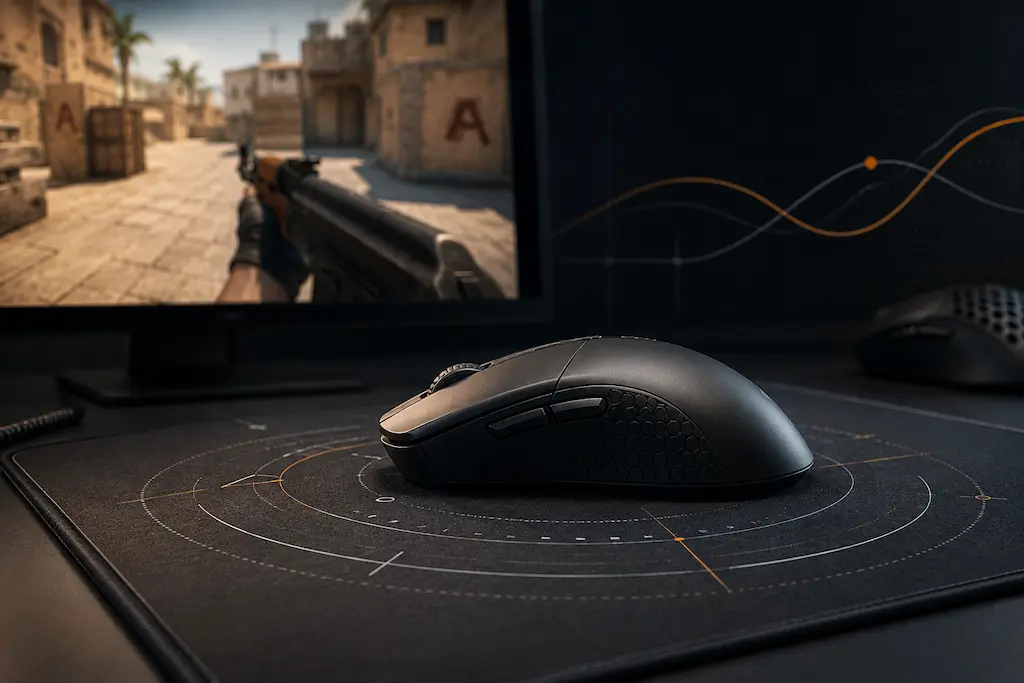
DPI stands for Dots Per Inch — the number of pixels your cursor moves on screen for every inch you physically move your mouse. At 400 DPI, one inch of mouse movement = 400 pixels. At 1600 DPI, the same inch = 1600 pixels. Higher DPI makes the cursor feel faster and more sensitive; lower DPI makes it slower and more precise.
But here is the key misunderstanding that trips up almost every new CS2 player: DPI on its own does not determine your in-game sensitivity. What matters is the combination of DPI × in-game sensitivity — together they form your effective DPI, or eDPI. A player using 400 DPI with 2.0 in-game sensitivity has exactly the same aim speed as a player using 800 DPI with 1.0 sensitivity. The mouse moves the same distance per 360° turn. Understanding this is the foundation of every good CS2 mouse setup.
eDPI: The Only Number That Actually Matters for CS2 Aim
eDPI (effective DPI) is calculated by a single formula: DPI × in-game sensitivity = eDPI. This single number describes your actual aim speed regardless of how you split it between hardware DPI and in-game sensitivity. Professional CS2 players almost universally operate in the 600–1200 eDPI range, with a smaller group of dedicated low-sens players going lower still. Players below 600 eDPI need large sweeping arm movements to turn 180°. Players above 1600 eDPI are working at very high speeds where small hand tremors translate directly to aim inconsistency. Most beginners find 800–1000 eDPI the easiest range to start developing consistent muscle memory.
XXL Heavy Cloth Gaming Mousepad (~$5 – $25)
Essential for Low eDPI
Playing in the professional 600–900 eDPI band requires 40–55cm of mouse travel for a 180° swipe. A large (900x400mm or 450x400mm) 4–6mm thick cloth pad provides the required arm-aiming clearance and stopping power.
What to look for:
- Minimum 450mm width for full 180° sweeps
- 4mm–6mm thickness cushions wrist and absorbs uneven desks
- Stitched edges prevent peeling and fraying
Budget Competitive Gaming Mouse (~$20 – $40)
Flawless Sensor Value
You don't need a $150 flagship mouse for consistent CS2 aim. Top budget models (like Razer DeathAdder Essential, Viper Mini, or Logitech G203) feature true 1000Hz polling, zero sensor spin-out, and reliable mechanical switches.
Key features:
- Flawless optical sensor (no spin-out on fast flicks)
- Reliable onboard memory for DPI and polling rate
- Ergonomic or symmetrical shape under 85g
Universal PTFE Mouse Skates / Dots (~$5 – $12)
Smooth Micro-Adjustments
Stock budget mouse feet often have high static friction (stickiness) that causes initial stutter when making tiny crosshair adjustments for long-distance headshots. 100% virgin-grade PTFE dots eliminate static friction on any mouse pad.
Advantages:
- Universal circular dot shape fits any mouse base
- Beveled curved edges won't scratch cloth pads
- Enough replacement dots for 2–3 mice
* As an Amazon Associate I earn from qualifying purchases.
1Calculate Your Current eDPI
Open CS2 → Settings → Mouse/Keyboard → note your Sensitivity value. Then: eDPI = your DPI × your in-game sensitivity. Example: 800 DPI × 1.5 sensitivity = 1200 eDPI. If you don't know your current DPI, check your mouse software (Logitech G Hub, Razer Synapse, etc.) or look up your mouse model's default DPI — most budget mice ship at 800 DPI.
2Find Your Target eDPI Range
CS2 pro players typically sit somewhere in the 600–1200 eDPI range, with most clustering closer to the middle of that band.
Recommended eDPI ranges:
• Low sensitivity (large XXL mousepad): 600–900 eDPI
• Medium control (standard-to-large pad): 900–1200 eDPI
• High speed (smaller desk space): 1200–1600 eDPI
Avoid going below 400 eDPI unless training arm-aiming on a massive pad, and avoid above 1600 eDPI where micro-tremors destroy accuracy.
There is no single correct eDPI. The best sensitivity is the one you can aim consistently with after at least 2–4 weeks of practice. Resist the urge to copy pro player settings exactly — their muscle memory is built around their specific numbers after years of play.3Choose a DPI Level and Adjust In-Game Sensitivity to Hit Your Target eDPI
The cleanest approach: pick a standard DPI (400 or 800) and adjust in-game sensitivity until your eDPI lands in your target range.
Example for ~800 eDPI:
• At 400 DPI → set in-game sensitivity to 2.0
• At 800 DPI → set in-game sensitivity to 1.0
Both produce identical aim speed. Budget mice have cleaner sensor output at 400 or 800 DPI.
Raw Input: The Most Important Toggle in CS2 Mouse Settings
CS2 has a Raw Input setting (Settings → Mouse/Keyboard → Raw Input: On). This should always be set to On for competitive play. With Raw Input Off, CS2 reads mouse movement data after it has been processed by Windows — including any acceleration, smoothing, or scaling applied by the Windows mouse pointer speed setting. With Raw Input On, CS2 reads directly from the mouse hardware, bypassing all Windows processing entirely. This guarantees that every millimeter of physical mouse movement translates to exactly the same in-game cursor movement every time, regardless of how fast or slow you move.
1Enable Raw Input in CS2
Open CS2 → Settings → Mouse/Keyboard → set Raw Input to On. This is the default in fresh installations but is worth confirming — some configuration guides or old config files can override it. Once enabled, the Windows mouse speed slider has zero effect on CS2 aim.
2Set Windows Mouse Speed to the Default (6/11)
Open Windows Settings → Bluetooth & devices → Mouse → Additional mouse settings → Pointer Options. Set the pointer speed slider to exactly 6 out of 11 notches — this is the default position and corresponds to exactly 1:1 pixel translation with no Windows multiplier applied. Disable "Enhance pointer precision" (this is mouse acceleration — it makes your aim speed inconsistent depending on how fast you move the mouse). Although Raw Input bypasses Windows in CS2, keeping Windows at default is good hygiene for other games and software that do not use raw input.
Enhance pointer precision is Windows mouse acceleration. It causes your aim speed to change depending on how quickly you move your mouse — slow movement = lower effective DPI, fast movement = higher effective DPI. This makes it impossible to build consistent muscle memory. Always disable it.
Polling Rate: 125 Hz vs 500 Hz vs 1000 Hz — What to Choose
Polling rate is how many times per second your mouse reports its position to your computer. At 125 Hz, the mouse reports every 8ms. At 500 Hz, every 2ms. At 1000 Hz, every 1ms. For CS2, 1000 Hz is the standard. Most gaming mice — even ultra-budget ones like the Logitech G203 and Razer DeathAdder Essential — support 1000 Hz polling. If your mouse only supports 125 Hz (most membrane office mice do), you will notice aim feeling slightly 'chunky' during fast flicks — this is the 8ms gap between position reports. Set polling rate in your mouse software. Never set it higher than your mouse's rated maximum.
1Check and Set Polling Rate in Your Mouse Software
Open your mouse software (Logitech G Hub, Razer Synapse, SteelSeries GG, or for unbranded budget mice — look for a dedicated utility or a button combination on the mouse itself). Set polling rate to 1000 Hz (also listed as 1000 reports/sec or 1ms). Some ultra-budget mice are limited to 125 Hz with no option to change — this is a hardware limitation and the only fix is upgrading to a proper gaming mouse.
2Check Your Current Polling Rate for Free
Use a free online polling-rate checker (search 'mouse polling rate test'). Move your mouse steadily over the test box and watch the reported Hz. If your mouse is set to 1000 Hz and working correctly, you should see readings consistently at or above 900. Readings of 125–130 mean your mouse is stuck at 125 Hz.
Higher polling rates above 1000 Hz (2000 Hz, 4000 Hz, 8000 Hz) are available on flagship gaming mice and marketed as reducing input latency further. This is accurate but the benefit is minimal in CS2 — the 1ms vs 0.5ms gap is below human perception. For ultra-budget setups, 1000 Hz is the correct target.
Mouse Acceleration in CS2 — Why You Need to Turn It Off
CS2 has its own in-game mouse acceleration setting (m_mouseaccel1 and m_mouseaccel2 in the console). Make sure both are set to 0. Mouse acceleration changes your effective sensitivity based on how fast you move the mouse — move slowly and the cursor travels a short distance; move fast and it travels disproportionately further. This sounds intuitive but destroys muscle memory. You can no longer rely on consistent physical movements to produce consistent on-screen results. All CS2 pro players use zero acceleration. To verify your console settings, open the CS2 developer console and type m_mouseaccel1 — it should return 0. Type m_mouseaccel2 — also 0.
1Disable Mouse Acceleration via CS2 Console
Open the developer console (~ key) in CS2 and enter these commands one at a time: m_mouseaccel1 0 and m_mouseaccel2 0. Add them to your autoexec.cfg to ensure they persist across restarts. Also confirm m_rawinput 1 is set, which corresponds to Raw Input being on.
2Disable Windows Mouse Acceleration
Control Panel → Mouse → Pointer Options → uncheck "Enhance pointer precision". This is the Windows-level mouse acceleration toggle. Even with CS2 Raw Input on, disabling this globally prevents acceleration from affecting other games, Windows desktop use, and any game that does not implement its own raw input.
Recommended CS2 Mouse Settings by Playstyle
Low Sensitivity / Arm Aiming (600–900 eDPI)
Recommended if you use an XXL mousepad, play at low sensitivity, and prefer large arm movements. Example config: 400 DPI × 2.0 sens = 800 eDPI. Pros: maximum aim precision for tapping and burst fire, less wrist fatigue over long sessions. Cons: 180° turns require a large mouse movement — you need desk space. Best for players who focus on holding angles and controlled fire.
Mid Sensitivity / Hybrid Aiming (900–1200 eDPI)
The most commonly used range in competitive CS2. Example config: 800 DPI × 1.3 sens = 1040 eDPI. Balances flicking range and precision. Works on medium and large mousepads. Most beginner players find this range easiest to build consistent muscle memory with. This is where the majority of CS2 pro players operate.
High Sensitivity / Wrist Aiming (1200–1600 eDPI)
Suitable for players who prefer wrist-heavy movement, use a smaller mousepad, or come from console gaming. Example config: 800 DPI × 1.75 sens = 1400 eDPI. Allows faster 180° flicks with less physical movement, but requires very clean micro-correction technique — small wrist tremors translate directly to aim wobble at this speed. Not recommended for beginners.
Frequently Asked Questions
The overwhelming majority of CS2 pro players use 400 or 800 DPI combined with an in-game sensitivity between 0.5 and 2.5, targeting an eDPI in the 600–1200 range. The most common DPI values are 400 and 800 — these are the cleanest hardware DPI steps on most gaming sensors. Very few pros go above 1200 eDPI. Check any CS2 pro settings database to see current configurations.
Neither is objectively better — what matters is your eDPI (DPI × in-game sensitivity). 400 DPI at 2.0 sensitivity = 800 DPI at 1.0 sensitivity: identical aim speed. Some players prefer 400 DPI because the lower hardware multiplier results in slightly cleaner sensor output on budget mice. Others prefer 800 DPI with a lower in-game sensitivity because it allows more decimal precision in the sensitivity setting. Pick whichever feels comfortable and stick with it.
Expect 2–4 weeks of consistent practice to build reliable muscle memory at a new sensitivity. During the transition, your aim will feel worse than before — this is normal. The mistake most players make is switching sensitivity every few days when they have a bad session. Pick a sensitivity in a reasonable eDPI range, commit to it for at minimum 2 weeks, and track your stats over that period rather than by individual session.
Yes, but only at the extremes. At 125 Hz (8ms reporting interval), aim can feel slightly choppy during fast flicks because position updates are infrequent. At 1000 Hz (1ms), the reporting is smooth and imperceptible as delay. The difference between 500 Hz and 1000 Hz is minimal in practice. Anything above 1000 Hz (2000/4000/8000 Hz flagship mice) provides marginal theoretical benefit that is below human perception for most players. If your budget mouse is stuck at 125 Hz, upgrading to a 1000 Hz gaming mouse like the Logitech G203 is one of the most impactful hardware upgrades you can make.
CS2 and Valorant use different sensitivity scales — the numbers are not interchangeable. A commonly used approximate conversion is to multiply your CS2 sensitivity by roughly 3.18 to get an equivalent Valorant sensitivity (and divide by roughly 3.18 to go the other way). Treat this as a starting point rather than an exact match, and fine-tune by feel. Both games respect raw mouse input, so if you keep the same DPI and apply this conversion, your physical 360° turn distance will be very close in both games.
Yes — but not because of DPI or sensitivity settings. Budget mice with low-quality, non-gaming sensors have a low malfunction speed — the point at which the sensor can no longer accurately track fast movement. During a fast CS2 flick — a 180° turn or a quick peek — if your mouse movement exceeds this speed, the sensor loses tracking and your crosshair stays in place or moves unpredictably. This is called spinning out and no DPI or sensitivity setting prevents it. A proper gaming sensor (like those in the Logitech G203, Razer DeathAdder Essential, or any modern PixArt gaming sensor) largely eliminates this problem.
Start in the 800–1000 eDPI range. This sits in the middle of what pro players use and gives you enough speed to turn without being so slow that repositioning feels frustrating. A concrete starting point: set your mouse to 800 DPI and your CS2 sensitivity to 1.0 (= 800 eDPI). Spend two weeks playing deathmatch and Aim Train maps. If everything feels too fast and your crosshair overshoots, lower sensitivity by 0.2 steps. If 180° turns feel too slow and you're lifting your mouse constantly, raise sensitivity by 0.2 steps. Converge gradually.
You May Also Like
- How to Set Up 4:3 Stretched in CS2: No Black Bars + FPS Boost (NVIDIA, AMD & Intel)
- CS2 FPS Boost Guide 2026: Best Settings for Max Performance
- Best Ultra-Budget XXL Mousepads for CS2 & Valorant under $10: Akduss, Naukay, and JOCYRN
- The Coin/Battery Mod for Wireless Mice: Perfecting Balance for CS2 & Valorant
- Best Ultra-Budget Gaming Mousepads Under $5 for CS2 & Valorant (2026)