Hardware Guide
How to Enable XMP & Overclock RAM: Step-by-Step Guide for CS2 & Valorant
Out of the box, almost all gaming PCs run RAM at JEDEC-default speeds — typically 2133 MHz or 2400 MHz — regardless of what speed is printed on the sticker. Enabling XMP (Intel) or EXPO (AMD) is a single BIOS toggle that runs your RAM at its advertised speed. In CPU-bound games like CS2 and Valorant, this single change can add 10–20% FPS with zero hardware cost or risk.
- 10 min read
What Is XMP / EXPO and Why Is Your RAM Running Slow?
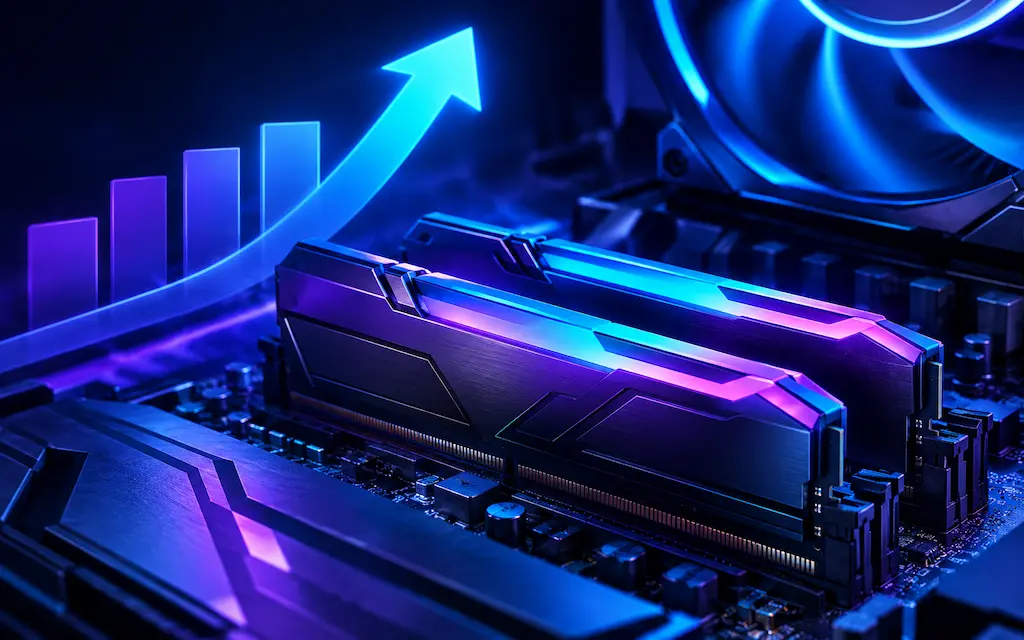
Every RAM kit ships with at least two speed profiles baked into its SPD (Serial Presence Detect) chip. The first is the JEDEC baseline speed — a conservative, voltage-safe default (DDR4: 2133 MHz, DDR5: 4800 MHz) that the system uses automatically for maximum hardware compatibility. The second is the XMP or EXPO profile — the speed the kit was designed and tested to run at (commonly DDR4 3200–3600 MHz, DDR5 5600–7600 MHz).
When you power on a new PC, the motherboard reads the JEDEC speed by default. Your 3200 MHz DDR4 kit is almost certainly running at 2133 MHz until you explicitly enable XMP. In CS2 and Valorant — both CPU-bound competitive titles that are sensitive to memory bandwidth and latency — the gap between JEDEC and XMP speeds translates directly to framerate.
XMP (Extreme Memory Profile) is Intel's specification for RAM overclock profiles stored in the SPD chip. EXPO (Extended Profiles for Overclocking) is AMD's equivalent for AM5 platform (Ryzen 7000 and newer) DDR5 kits. Both work identically: a single BIOS toggle reads and applies the manufacturer-tested speed, voltage, and timing profile.
1Check Your Current RAM Speed
Before entering BIOS, verify your current RAM speed.
How to check in Windows:
1. Task Manager: Press Ctrl + Shift + Esc → Performance tab → Memory → check 'Speed' in bottom right.
2. CPU-Z (free tool): Memory tab → DRAM Frequency (multiply by 2 for effective DDR speed).
If a 3200 MHz kit shows 2133 MHz, XMP is disabled and performance is being left on the table.
2Identify Whether You Need XMP (Intel) or EXPO (AMD)
Identify your platform profile type:
• XMP (Extreme Memory Profile): Used on Intel platforms (LGA1700, LGA1200) and AMD AM4 (Ryzen 3000/5000).
• EXPO (Extended Profiles for Overclocking): AMD's standard for AM5 platform (Ryzen 7000/9000).
• XMP 3.0: DDR5 Intel standard supporting up to 5 profiles.
Enabling XMP / EXPO in BIOS: Step-by-Step
The exact menu location varies by motherboard manufacturer, but the process is identical across all brands. You're looking for an XMP or EXPO toggle in the memory or overclock settings section.
1Enter BIOS at Startup
Restart your PC and enter BIOS during POST:
• Desktop boards (ASUS, MSI, Gigabyte, ASRock): Press Delete or F2 continuously during startup.
• Laptops: Press F2 or F1.
• Windows 11 alternative: Settings → System → Recovery → Advanced startup → Restart now → UEFI Firmware Settings.
2Find XMP / EXPO Toggle — ASUS Motherboards
ASUS BIOS (UEFI) steps:
1. Press F7 to switch to Advanced Mode.
2. Go to Ai Tweaker → Ai Overclock Tuner.
3. Change setting from Auto to XMP (or EXPO on AM5 boards).
4. Press F10 to save and exit.
3Find XMP / EXPO Toggle — MSI Motherboards
MSI BIOS steps:
1. Press F7 for Advanced Mode.
2. Go to OC (Overclocking) → XMP / EXPO dropdown.
3. Select your rated profile (e.g., 3200MHz / 6000MHz).
4. Press F10 to save and exit.
4Find XMP / EXPO Toggle — Gigabyte / AORUS Motherboards
Gigabyte / AORUS BIOS steps:
1. Press F2 for Advanced Mode.
2. Go to Tweaker → Extreme Memory Profile (X.M.P.) / EXPO.
3. Select Profile 1.
4. Press F10 to save and exit.
5Find XMP / EXPO Toggle — ASRock Motherboards
ASRock BIOS steps:
1. Press F6 for Advanced Mode.
2. Go to OC Tweaker → DRAM Frequency / XMP Profile.
3. Select your rated profile from dropdown.
4. Press F10 to save and exit.
6Verify the Change in Windows
After saving BIOS settings:
1. PC will restart (may cycle 2–3 times during initial memory training).
2. Open Task Manager → Performance → Memory.
3. Confirm 'Speed' matches your kit's rated speed.
Some systems require 2–3 restart cycles on first boot after enabling XMP as the board calibrates memory training. If POST fails, wait 30 seconds — most motherboards automatically reset to safe JEDEC defaults.
Manual RAM Overclocking: Beyond XMP
XMP profiles are safe, manufacturer-tested configurations that work reliably on the vast majority of systems. Manual overclocking goes further — finding faster speeds, tighter timings, or stable configurations that XMP doesn't officially offer. It requires more testing but can yield additional performance in memory-sensitive workloads.
DDR4 3600 MHz CL16 / CL18 Kit (32GB Dual-Channel)
Best DDR4 Sweet Spot
The performance sweet spot for AMD AM4 (Ryzen 3000/5000) and Intel 10th–14th Gen DDR4 boards. Delivers optimal 1:1 Infinity Fabric clock alignment and low latency (10ns) without needing manual voltage tuning.
Why it wins:
- Plug-and-play XMP 2.0 stability
- 32GB (2x16GB) dual-rank bandwidth headroom
- Low-profile aluminum heat spreaders fit all air coolers
DDR5 6000 MHz CL30 EXPO & XMP Kit (32GB)
Best DDR5 Sweet Spot
The gold standard for AMD AM5 (Ryzen 7000/9000) and Intel LGA1700 platforms. 6000 MHz with tight CL30 timings achieves 10.0ns first-word latency and 1:1 memory controller synchronization, maximizing 1% Low FPS in CS2 and Valorant.
Top features:
- Native AMD EXPO and Intel XMP 3.0 profiles
- Ultra-tight CL30-36-36 timings at 1.35V
- High-grade SK Hynix A-die / M-die silicon
120mm PWM High-Static Pressure Case Fan (~$5 – $15)
For High-Voltage RAM Tuning
Tight memory timings and DRAM voltages above 1.38V generate heat that leads to tREFI degradation and heat-related memory errors during long gaming sessions. Directing a quiet 120mm PWM fan over your RAM slots keeps modules under 45°C even under sustained synthetic stress.
Benefits:
- Prevents temperature-induced bit-flips and crashes
- Quiet PWM speed control synced to motherboard sensors
- Also cools surrounding VRM power delivery heatsinks
* As an Amazon Associate I earn from qualifying purchases.
1Understand RAM Timing: The Four Primary Timings
RAM timings are expressed as four numbers (e.g. 16-18-18-38):
• CL (CAS Latency): Cycles between read command and data output — lower is faster.
• tRCD: Cycles between row activation and read command.
• tRP: Cycles to precharge a row before opening another.
• tRAS: Minimum cycles a row stays active (must be ≥ CL + tRCD).
For competitive gaming, absolute latency (CL / frequency × 2000 in ns) matters most.
2The Optimal RAM Configuration for CS2 and Valorant (2026)
Recommended RAM speed targets for 2026:
• DDR4: 3600 MHz CL16 or CL18 (sweet spot for Intel/AMD controllers).
• DDR5: 6000 MHz CL30 or 6400 MHz CL32 (sweet spot for Ryzen 7000/9000 & Intel 13th/14th Gen).
3How to Manually Increase RAM Speed Beyond XMP
Manual speed adjustment steps:
1. In BIOS Advanced Mode → OC menu: set DRAM Frequency manually.
2. Leave timings on Auto for initial boot.
3. Increase DRAM voltage if needed, staying at or below 1.45V for DDR4 and 1.40V for DDR5 — these are hard ceilings, not just a recommendation for stock cooling; extra airflow over the modules helps keep temperatures down at these voltages but does not raise the safe limit itself.
4. Test stability using stress tools.
Manual RAM overclocking voids your RAM kit's warranty in most regions. Voltage above 1.45V DDR4 or 1.40V DDR5 can degrade or permanently damage DRAM cells regardless of cooling — treat these figures as the ceiling, not a starting point to push past with better airflow. Proceed in small increments and always stability test after each change.
Stability Testing: Making Sure Your RAM Is Rock Solid
After enabling XMP or manually overclocking RAM, stability testing is essential. An unstable RAM configuration causes random crashes, BSODs, game crashes, and data corruption — which are often blamed on other components. These tests catch instability before it becomes a problem.
1Run MemTest86 for Deep Memory Validation
MemTest86 validation:
1. Download MemTest86 → create bootable USB drive.
2. Boot from USB (F11/F12 boot menu).
3. Run a minimum of 2 complete passes (1–2 hours).
4. Zero errors = stable; any error = unstable (lower frequency or adjust voltage).
2Run Prime95 (Large FFTs / Blend) or TestMem5 (In-Windows Test)
In-Windows stress testing:
• Prime95: Select 'Large FFTs' (tests memory controller & RAM) or 'Blend' for 30–60 minutes.
• TestMem5 (TM5 with Anta777 config) or OCCT Memory test.
3Quick In-Game Stability Check
In-game stability check:
• Play 2–3 full competitive matches in CS2 or Valorant.
• RAM instability causes sudden desktop crashes, BSODs, or frame stutters.
Expected FPS Gains: XMP vs No XMP in CS2 & Valorant
Budget System (Ryzen 5 5600X / Intel Core i5-12400, DDR4 3200 CL16)
Expected performance boost:
• Baseline (JEDEC 2133 MHz) → XMP (3200 MHz CL16): CS2 average FPS gain ~12–18%, Valorant ~8–14%.
• Direct CPU Bottleneck Relief: CPU-bound systems where memory bandwidth is a bottleneck see the highest percentage gains.
• FPS Fix: If you run a budget CPU with stock RAM and low FPS, enabling XMP is the most common single fix.
Mid-Range System (Ryzen 7 7700X / Intel Core i7-13700K, DDR5 5600 CL40)
Expected performance boost:
• Baseline (JEDEC 4800 MHz) → XMP (5600 MHz CL40): CS2 average FPS gain ~8–12%, Valorant ~6–10%.
• DDR5 6000 MHz CL30 (Manual / EXPO): Adds an extra ~4–7% FPS over 5600 CL40.
• Controller Sweet Spot: 6000 MHz CL30 provides 1:1 memory controller sync for optimal frame time consistency in competitive titles.
High-End System (Ryzen 9 7950X / Intel Core i9-14900K)
Expected performance boost:
• Baseline → XMP Gain: CS2 average FPS gain ~5–8%.
• Chasing High Frequencies: Upgrading from 6000 CL30 to 6400 CL32 yields small gains (1–3%) on these platforms.
• Main Focus: Prioritize CPU cooling, power limits, and background app cleanup over chasing extreme DRAM clocks.
Frequently Asked Questions
Yes, enabling XMP is safe and is not considered overclocking in the traditional sense — it's running the RAM at the speed it was designed and tested for by the manufacturer, at standard voltage levels. XMP profiles are validated by the RAM manufacturer for the specific memory chips used. The risk of enabling XMP is essentially zero on a compatible system. Manual overclocking beyond XMP carries more risk but is still generally safe within documented voltage limits.
This is the most common RAM question. Your kit's rated speed (3200 MHz) is stored in the XMP profile on the SPD chip, but the motherboard defaults to the JEDEC baseline speed (2133 MHz for DDR4) for maximum compatibility at stock power-on. Enabling XMP in BIOS as described in this guide will run your kit at its rated 3200 MHz. This is not a fault — it's by design. Every DDR4 kit running on a new system needs XMP enabled to reach its rated speed.
If XMP causes instability and the system fails to POST, most motherboards automatically reset to safe JEDEC settings after 2–3 failed boot attempts. You'll boot into Windows at the slower speed with a message that the previous overclock failed. You can then re-enter BIOS and try XMP Profile 2 (if your kit has one — usually slightly lower frequency) or adjust settings manually. This auto-recovery is a standard BIOS safety feature and no data is lost.
RAM speed matters significantly for CPU-bound games — and CS2 and Valorant are both CPU-bound titles where the CPU main thread's memory access latency directly impacts frame preparation time. Independent benchmark data consistently shows 10–20% FPS gains from JEDEC to XMP in these games on mid-range CPUs. In GPU-bound scenarios (where the GPU is the bottleneck), the gain is smaller but still noticeable in frame time consistency. The gain from XMP is real and measurable in competitive gaming, not just synthetic benchmarks.
Profile 1 is typically the full rated speed (e.g., 3600 MHz CL16). Profile 2, when available, is usually a slightly lower speed or looser timings for systems where Profile 1 is marginal (e.g., 3200 MHz CL16). Start with Profile 1. If it's unstable (system fails to POST or crashes during testing), try Profile 2. Both profiles are tested by the manufacturer and are safer than manual overclocking. Some kits only have one XMP profile — Profile 1 is the only option in those cases.
Yes. B-series motherboards fully support XMP, DOCP, and EXPO. On AMD platforms (B450, B550, B650, B850), B-series boards support both full CPU overclocking/PBO and memory overclocking. On Intel platforms (B560, B660, B760), B-series boards lock CPU multiplier overclocking (which requires Z-series), but fully support RAM overclocking and XMP profiles. Memory overclocking via XMP is supported on all modern B-series motherboards. Check your motherboard's QVL list on the manufacturer's website for supported memory speeds.
You May Also Like
- How to Install an NVMe SSD: Step-by-Step Guide for Beginners
- The Ultimate PE Foam Mod: Creamy Keyboard Sound on a Budget
- How to Overclock Your Monitor from 60 Hz to 75+ Hz Using CRU
- Bufferbloat Fix & Network Tuning for CS2 & Valorant: Complete Guide
- Best Ultra-Budget 240Hz Monitors Under $120 for CS2 & Valorant (2026)