Modding Guide
The Secret to Creamy Keyboards: The PE Foam Mod
Want that signature loud, poppy, and 'creamy' keyboard sound? In this guide to The Ultimate PE Foam Mod: Creamy Keyboard Sound on a Budget, we'll show you that while switches and plates play a role, this keyboard sound mod is the biggest game-changer for budget boards. Learn how to choose the right material, install it safely, and get a premium marbly sound on any hot-swap keyboard.
- 6 min read
PE Foam vs. Tape Mod: What's the Difference?
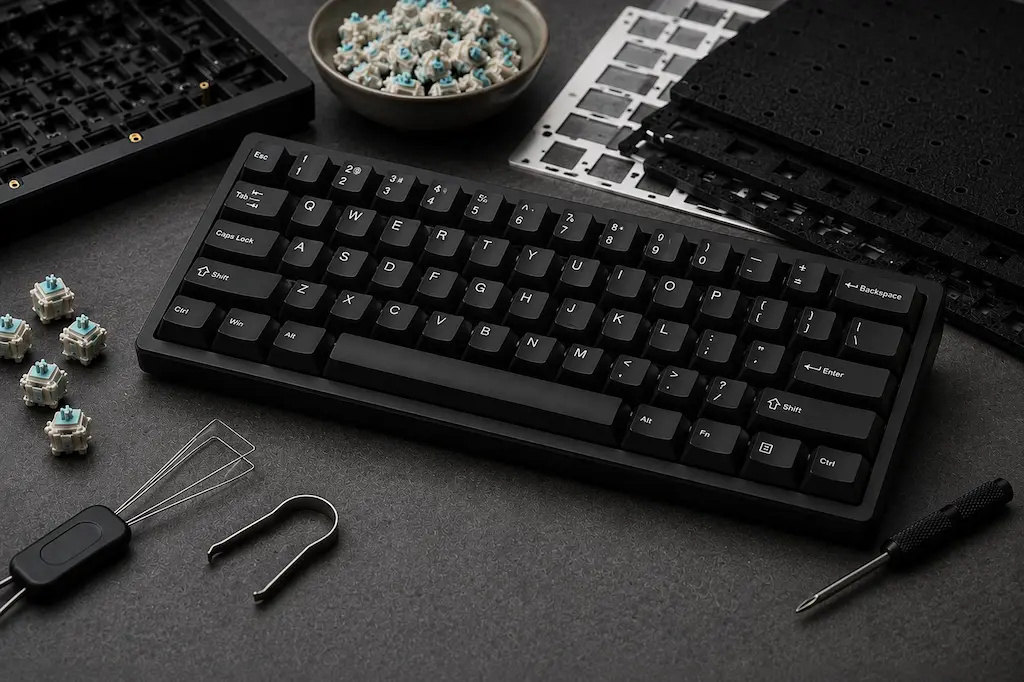
Welcome to our comprehensive PE Foam Mod Guide: How to Get a Creamy Keyboard Sound. While the Tempest Tape Mod (putting tape on the back of the PCB) is great for budget keyboard modding and removing case hollowness, the PE Foam mod popularized by the famous Jelly Epoch sound mod targets the switch acoustics directly. By placing a thin layer of polyethylene (PE) foam between the plate and the PCB, you change how vibrations resonate through the PCB assembly. When the switch bottoms out, the foam dampens higher frequencies, leaving a distinct, poppy, and 'creamy' sound profile. Physical Order: Keycaps → Switches → Plate → PE Foam layer → PCB → Case Foam → Keyboard Case. While this mod can technically be done on soldered keyboards, it requires desoldering every switch, making it impractical for most users—it is best suited for hot-swap mechanical keyboards.
IXPE vs. Regular PE Foam: Which Sounds Better?
They're not interchangeable, and the choice affects your sound signature, not just your install time. Regular PE foam (like the anti-static bags packaging comes in) is a closed-cell foam that's softer and less consistent in density, so it tends to produce a deeper, more muted 'thock'. IXPE (irradiated cross-linked polyethylene) is a denser, more uniform closed-cell foam commonly used in industrial applications and adapted for mechanical keyboard mods—it compresses more predictably, which gives you a sharper, more resonant 'creamy pop' rather than a dull thud. If you want maximum loudness and that viral marbly clack, go IXPE. If you want something quieter and more muted, regular PE foam works better.
The Tools You Need
To perform a PE foam mod safely and effectively, you need a way to remove your switches without breaking them, and the actual foam layer. You can either do this for zero dollars by recycling packaging material, or spend a few bucks on pre-cut pads to save yourself hours of tedious hole-poking.
Metal Switch Puller
Essential
Do not try to pull switches with tweezers or pliers. You will break the fragile plastic housings. A dedicated metal switch puller distributes force evenly and makes pulling 80+ switches much faster.
Recommended Gear:
- Glorious Switch Puller
- Generic Metal Switch Puller
Pre-cut IXPE Switch Pads
The Easy Way
Instead of cutting a giant sheet of foam and manually poking holes for every single switch pin (which takes hours), you can buy pre-cut IXPE pads with adhesive backing. They just stick to your PCB and have all the holes perfectly aligned.
Recommended Gear:
- KBDfans IXPE Switch Pads
- Generic IXPE Foam Pads 120pcs
Recycled PE Packaging Foam
Zero-Dollar Solution
If you recently bought a motherboard, GPU, or monitor, it probably came wrapped in a thin, white, anti-static PE foam bag. Cut a sheet to the size of your keyboard. It's free, but you will have to manually poke holes for every switch pin.
Requirements:
- Anti-static (pink/grey) is best
- Maximum 0.5mm thickness
* As an Amazon Associate I earn from qualifying purchases.
Does Foam Thickness Matter?
Yes, and it's the easiest way to fine-tune the mod to your taste. Thinner foam, around 0.2mm–0.3mm, dampens less and keeps more of the switch's natural high-end clarity—you get a brighter, sharper creamy pop. Thicker foam, closer to the 0.5mm max, absorbs more high-frequency noise and pushes the sound toward a deeper, more muted thock. If this is your first time doing the mod and you're not sure what you want, start with 0.4mm IXPE—it's the most common thickness in prebuilt kits and gives a balanced result that most people consider 'the' creamy sound.
When You Should Skip the PE Foam Mod
While this keyboard acoustic mod is a fantastic way to upgrade budget boards, it isn't for everyone. You should skip this mod if: 1) You already own a premium custom keyboard with a highly tuned acoustic profile that you don't want to mute. 2) You prefer the natural, crisp sound of your switches without acoustic filtering. 3) Your keyboard has soldered switches (unless you enjoy hours of desoldering). 4) Maximum RGB brightness is your priority, as the foam layer will slightly block light.
Common Mistakes to Avoid
To ensure your keyboard tuning goes smoothly, avoid these frequent pitfalls: 1) Using foam thicker than 0.5mm, which will compress the switches too much and can damage hot-swap sockets or warp the plate. 2) Forcing switches into sockets—if a switch won't snap in, a pin is likely bent. 3) Forgetting to test switches with a software tester before putting keycaps back on. 4) Covering RGB LEDs completely without making cutouts. 5) Using conductive packaging foam that could short-circuit the PCB.
Step-by-Step Guide: Getting the Creamy Sound
Follow this step-by-step PE foam mod tutorial. Learn how to install IXPE switch pads or PE foam to make your budget hot-swap mechanical keyboard sound premium and creamy with minimal effort.
1Remove All Keycaps and Switches
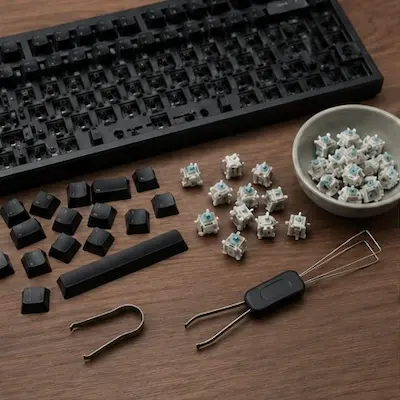
Unplug your keyboard. Use a keycap puller to remove all keycaps. Then, take your switch puller, grab each switch by the top and bottom tabs, squeeze, and pull straight up. Wiggling side-to-side can bend the metal contact pins. Place all your switches in a bowl so you don't lose them.
2Prepare the PCB
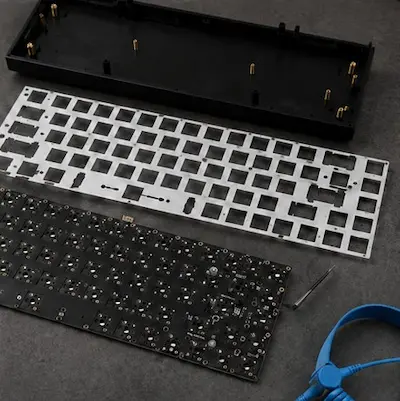
To install a full foam sheet, you will need to open the case and separate the plate from the PCB. If you are using individual pre-cut IXPE pads, you can technically slide them through the plate's switch cutouts using precision tweezers without fully separating the board, though taking the plate off makes alignment much easier and prevents misaligned pads. Before touching the bare PCB, discharge static by touching a grounded metal surface (like your PC case) first—hot-swap sockets can be sensitive to static discharge.
3Laying DIY Foam and Poking Holes (If not using pre-cut pads)
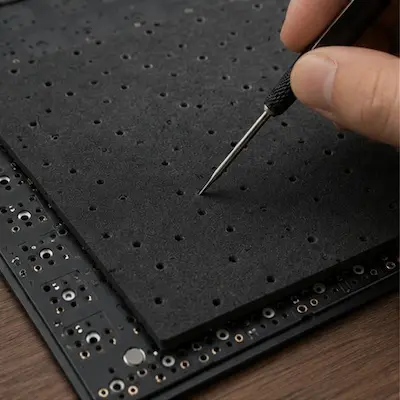
If you chose the DIY sheet method: lay your cut PE foam sheet directly over the bare PCB (before putting the plate back on). Use a small screwdriver or a toothpick to poke holes exactly where the 2 metal pins of each switch will go into the hot-swap sockets. If you don't poke holes, the switch pins will try to punch through the foam, which usually results in severely bent pins and dead keys.
Never force a switch into a socket if there is resistance. A bent pin means the key won't work until you pull it out and straighten the pin with tweezers.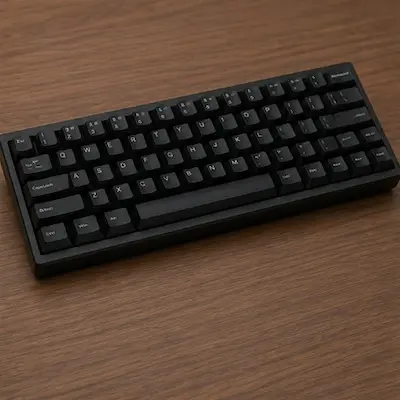
4Re-insert Switches and Test
Carefully align the pins of each switch with the holes in your foam (or IXPE pad) and press straight down until the switch snaps into the plate. Once all switches are in, DO NOT put the keycaps on yet. Plug the keyboard in and go to a free online keyboard tester to verify every single key registers. If a key is dead, pull the switch out, straighten the bent pin, and try again.
PE Foam Mod: Pros & Cons
The Pros (Advantages)
Extremely low cost (or free), massive improvement in acoustics on budget boards, and completely beginner-friendly for hot-swap keyboards.
The Cons (Drawbacks)
Requires pulling out every switch, risks bending pins if forced, reduces RGB brightness slightly, and flattens the individual sound character of premium switches.
Time Investment
For a standard TKL (87-key) board, expect 1–2 hours if using pre-cut IXPE pads, or 2–3 hours if cutting and hole-poking your own sheet from packaging foam.
Frequently Asked Questions
While the mod can technically be done on soldered keyboards, it requires desoldering every switch, making it impractical for most users—it is best suited for hot-swap mechanical keyboards.
Static discharge is a real concern with standard cheap packing foam. While many people use it without issues, the safest route is to use Anti-Static PE Foam (usually pink) or buy dedicated IXPE switch pads which are designed specifically for this purpose and are entirely safe.
Yes! In fact, the PE Foam mod + Tape mod combo is the absolute gold standard for tuning budget hot-swap keyboards. The PE foam creates the creamy sound signature, while the Tape mod amplifies it and removes any remaining case hollowness.
For a standard TKL board, budget 1–2 hours with pre-cut IXPE pads, or 2–3 hours if you're cutting your own foam sheet and poking holes manually.
It can, but foam sitting right over the LED can dim or diffuse the RGB slightly, especially with south-facing setups where the LED is closer to the switch opening. If lighting matters to you, use thinner foam (0.2mm) or cut small openings over each LED before installing.
Dedicated IXPE switch pads can last for years without losing their elasticity. Regular packaging PE foam may compress and degrade slightly over time due to typing pressure, but it usually remains functional for a long time.
Yes, it can. Because the foam sits between the plate and PCB, it acts as a very minor cushion. It slightly softens the bottom-out feel, making typing feel a bit less harsh, which many users actually prefer.
Absolutely. In fact, combining PE foam (for switch pop) with case foam (to eliminate case echo) and a force break mod (to remove metallic ping between case halves) is the ultimate way to fully tune a budget mechanical keyboard.
You May Also Like
- How to Enable XMP & Overclock RAM: Step-by-Step Guide for CS2 & Valorant
- How to Lube Mechanical Keyboard Switches: From Scratchy to Smooth on a Budget
- Budget Keyboard Tuning: The $2 Tape Mod for a Premium Sound and Feel
- Best Ultra-Budget Rapid Trigger Keyboards Under $40 for CS2 & Valorant (2026)
- Best Ultra-Budget Wireless Keyboards Under $20: CS2 & Valorant